Error has occurred!
- KB466
- Jan 14, 2022 08:51 AM
How do I create/share a digital signature?
Once a signature is created, it can be used quickly for future signing efforts, or shared with other users, please see below for steps on each process.
Create a Certificate
You will first need to create the certificate and the image you would like to use (and if sharing, ensure the image is in a shared network location).
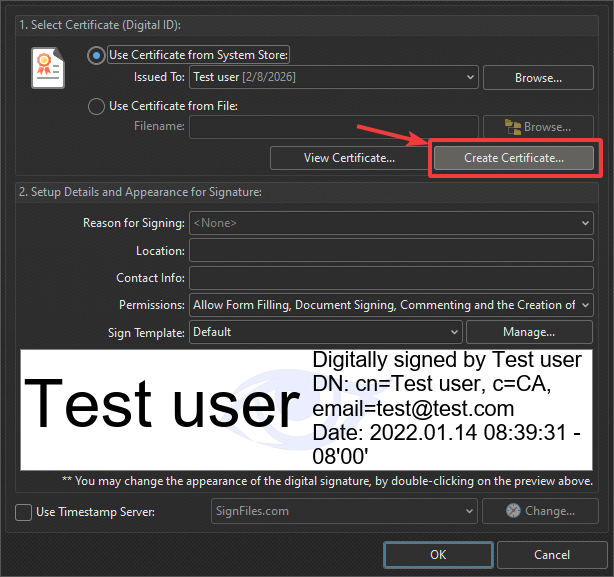
1. Open a new document and use the Sign Document tool under the Protect Tab.
- Choose “Use Certificate from file”
2. Click Create Certificate:
3. Fill in the fields as desired, then be sure to select “New PKCS#12 Digital ID File”
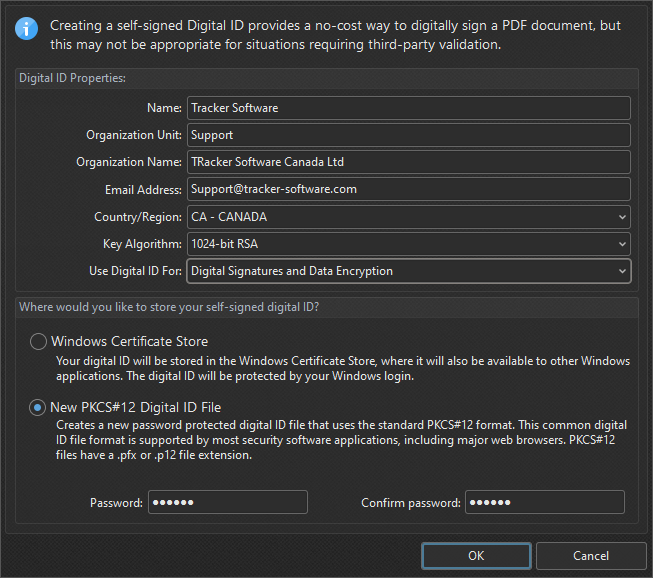
4. Once you have set a password, click okay, you will then be prompted to save the file to a location.
- If sharing the signature, ensure you save this to a network location that is accessible to all users who will be using it.
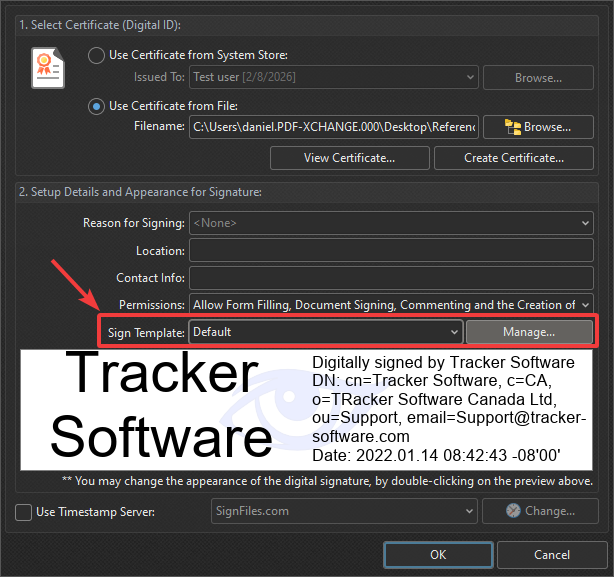
5. Select Manage:
6. Select the template you would like to share, and click Edit:
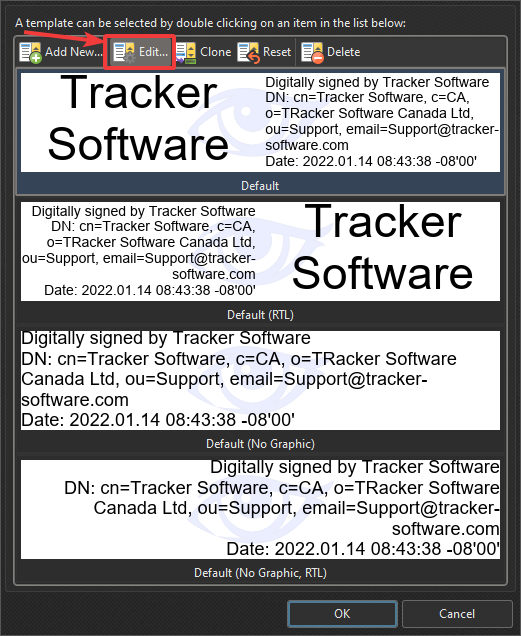
7. Choose Custom Icon, or background logo (If sharing these should also be available on the shared network location):
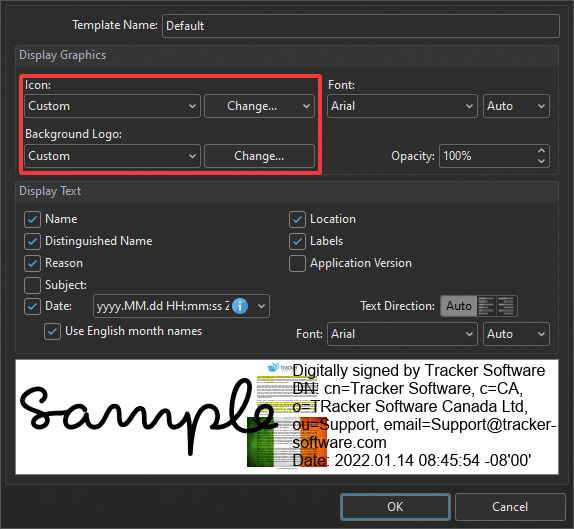
8. Deselect all aspects of the certificate you do not want displayed:
At this point, you should have a certificate with an image ready to use for signing, possibly in a shared location.
Sharing a Signature
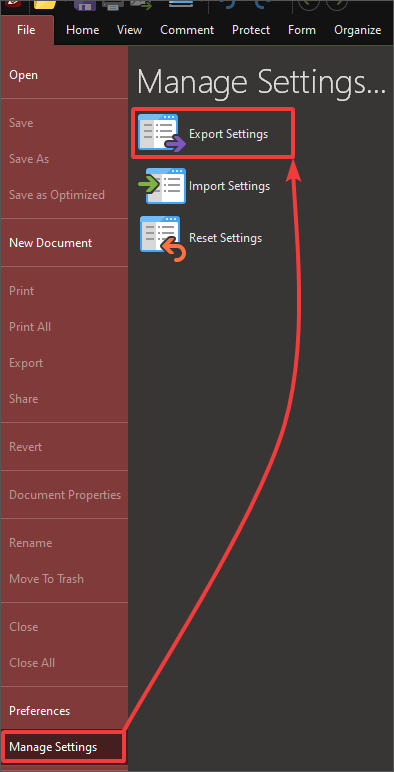
1. Open the File tab and choose Manage Settings > Export Settings:
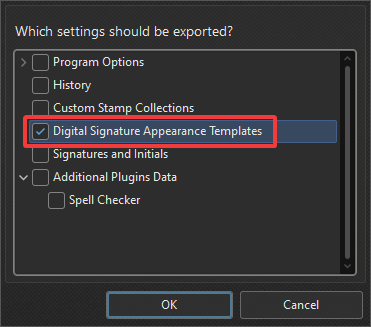
2. Select Digital Signature Appearance Templates and Deselect all other options:
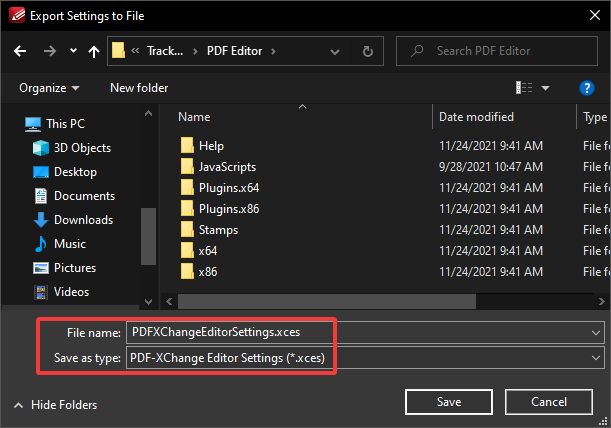
3. Save the settings Export to an easily accessible location with a user friendly name:
4. Distribute this file to your users, and have them Import this file into their PDF-XChange Editor or Editor Plus application in order to finalize the sharing process.
If you have any further questions or concerns, please send an email to support@pdf-xchange.com
More Like This
- KB#456: How Do I Customize toolbars in PDF-XChange Editor?
- KB#431: How do I add new Languages to the Editor Spellchecker?
- KB#165: Are PDF-XChange Editor and PDF-XChange Viewer available in my language?
- KB#457: How do I change the page view in full screen mode
- KB#478: I have a problem with printing in color with the Editor